Sponges themselves are nothing new; people have been using sponges to apply makeup for years – originally they were mainly used backstage for stage makeup in theatres, and then they gravitated to the mainstream in the 1920’s, when Max Factor popularised their use and women started to apply compact foundation and powder makeup with them.
I have always had sponges in my kit over the years and the way I use sponges at work varies – if I need to create all over body makeup quickly, or I’m creating a dramatic beauty look with lots of colours and paints, then I might use a sponge to do that as it’s a way to get the makeup onto a large area of skin quickly.
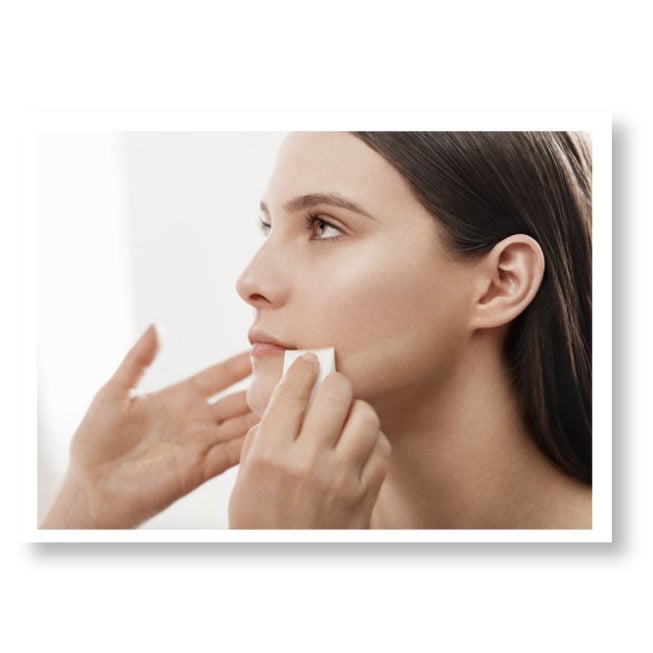
I also use a dampened sponge sometimes to sheer out foundation for a lighter, more natural looking finish. Due to the texture of sponge, it tends to soak up a lot of the product, and so especially if you use it damp, it’s a great way to create a really light, even coverage on the skin. You can also use a damp sponge to easily go over the top of foundation you have already applied if you feel like it’s a bit too heavy to sheer it out and thin the coverage out around the edges and by the ears, jawline and hairline.
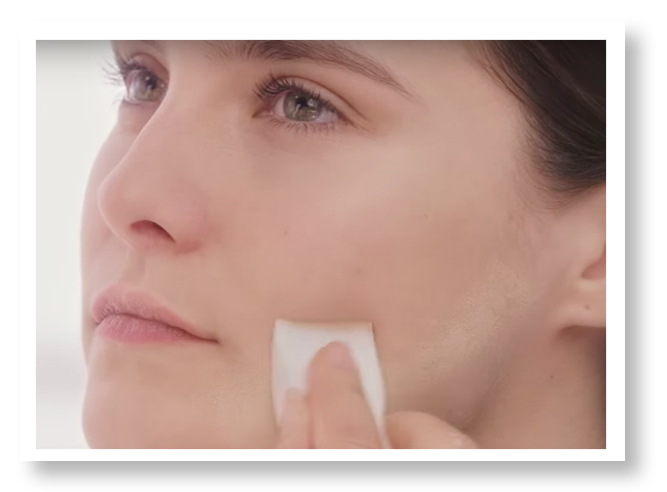
Sometimes I also use a sponge dry; normally if I need to powder something in well and blot an area down to keep things in place. If I’m using a sponge dry like this, then I’ll apply a pressing motion to set the powder into the skin and stop it from moving. If you have done some heavy concealing for instance, using a brush to apply setting powder might start to brush away the layers of careful concealing, so sometimes using a sponge to press powder on top is more effective.
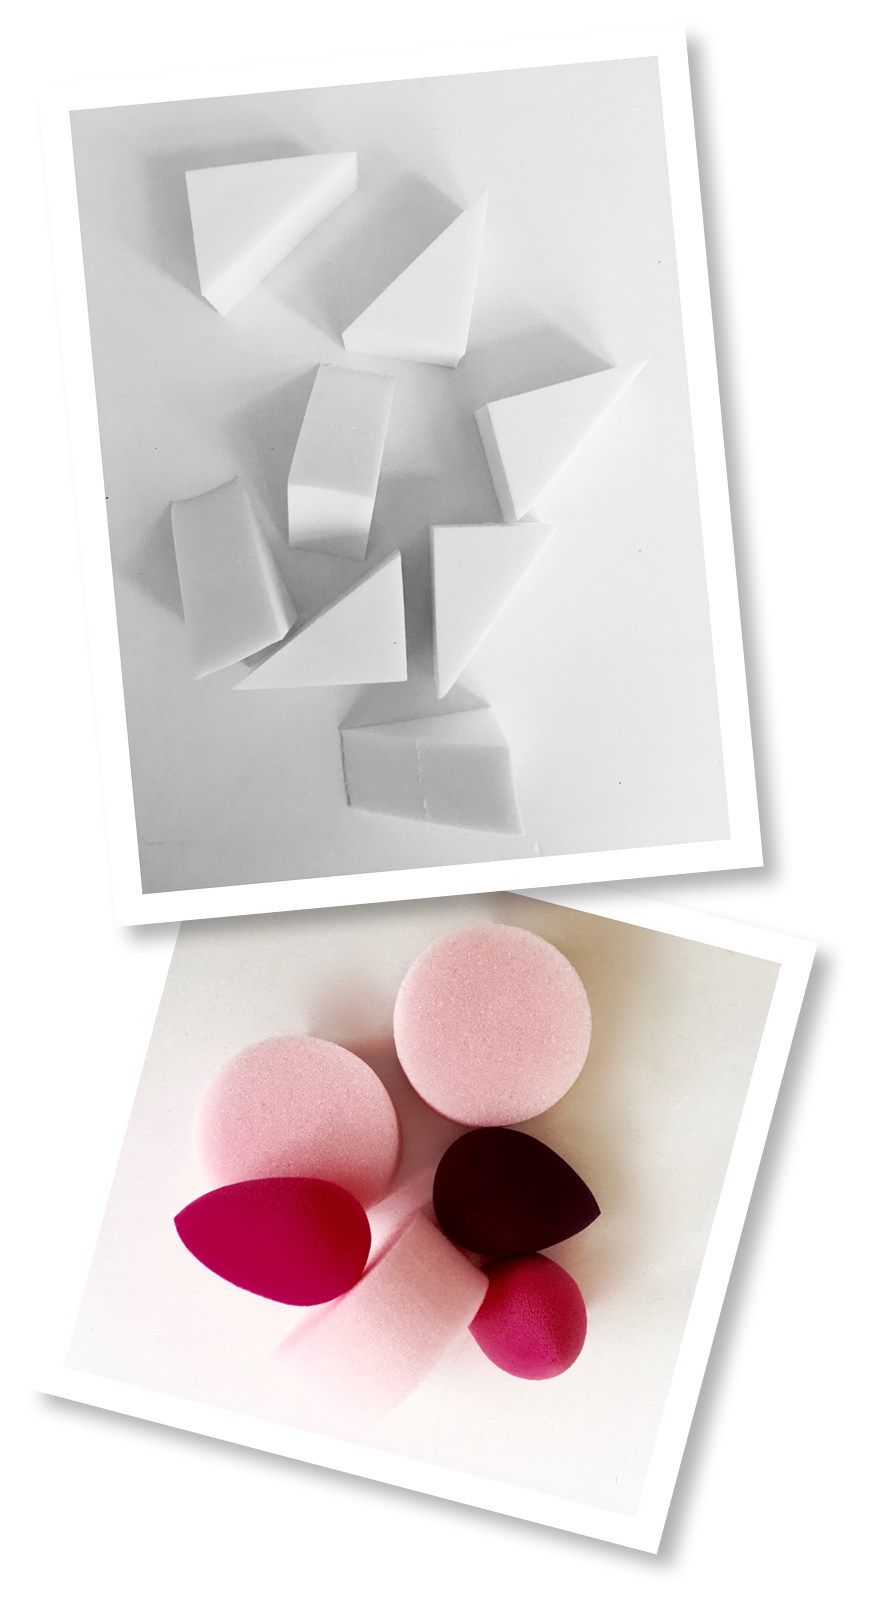
There are so many new modernised sponge options available – some shaped like eggs, some in teardrop shapes, miniature ones, ones on sticks ones with edges, ones without – it can be hard to know which ones to choose.
Here are some suggestions if you’re thinking of trying them out:
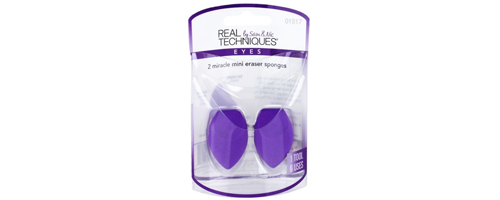
BEST FOR SMALL AREAS
These Real Techniques mini sponges look absolutely tiny, but they do grow in size once dampened and are great for getting into any creases like around the nose, in the crease of the chin and between the brows.

BEST MULTI-BUY
These blenders from Eco Tools come packaged with one smaller one that is firmer and more precise – perfect for getting into creases and smaller areas, as well as one, larger one which is softer and better for covering larger areas of skin.

BEST FOR EASE OF USE
This Maybelline Sponge comes with a handle like a brush, so it’s great if you’re more comfortable using a brush, but want the even coverage and lightweight application of a sponge. This one is dome shaped with a pointed tip, so it fits well into all of the creases of the face too.
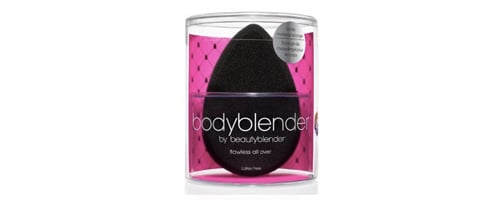
BEST FOR BODY
This Beauty Blender is specifically designed for the body. It’s great if you want the perfect streak-free fake tan application, or if you’re applying any body makeup to any areas like your legs, arms or décolletage this summer – ideal for evening out your skin-tone and covering any imperfections.

BEST FOR FACE
WunderBlend’s Complexion Sponge is great for the face. Small and neat in size, it’s big enough to cover large areas of the face when you need to apply a base over the face and neck, but small enough at the tip to get into tight spots like around the ears, between the brows and around the nose and chin.

BEST FOR BLOTTING
Sponges are great for blotting as well as blending and these Blotterazzi Pro sponges by Beauty Blender are a washable, re-usable alternative to blotting papers. The sponge works to absorb excess oil and the teardrop shape is ideal for blotting large areas of skin (using the large, flat area) as well as around the nose and in the crease of the chin by using the sides of the sponge. Press onto the skin gently to keep your makeup in place as you blot away excess oil.
How long can you keep a blending sponge for?
If you keep it super clean and wash after every use, the recommendation is that you can keep your sponge for up to three months. If you use it all the time, then you might need to replace it more frequently if it’s looking a bit tired!
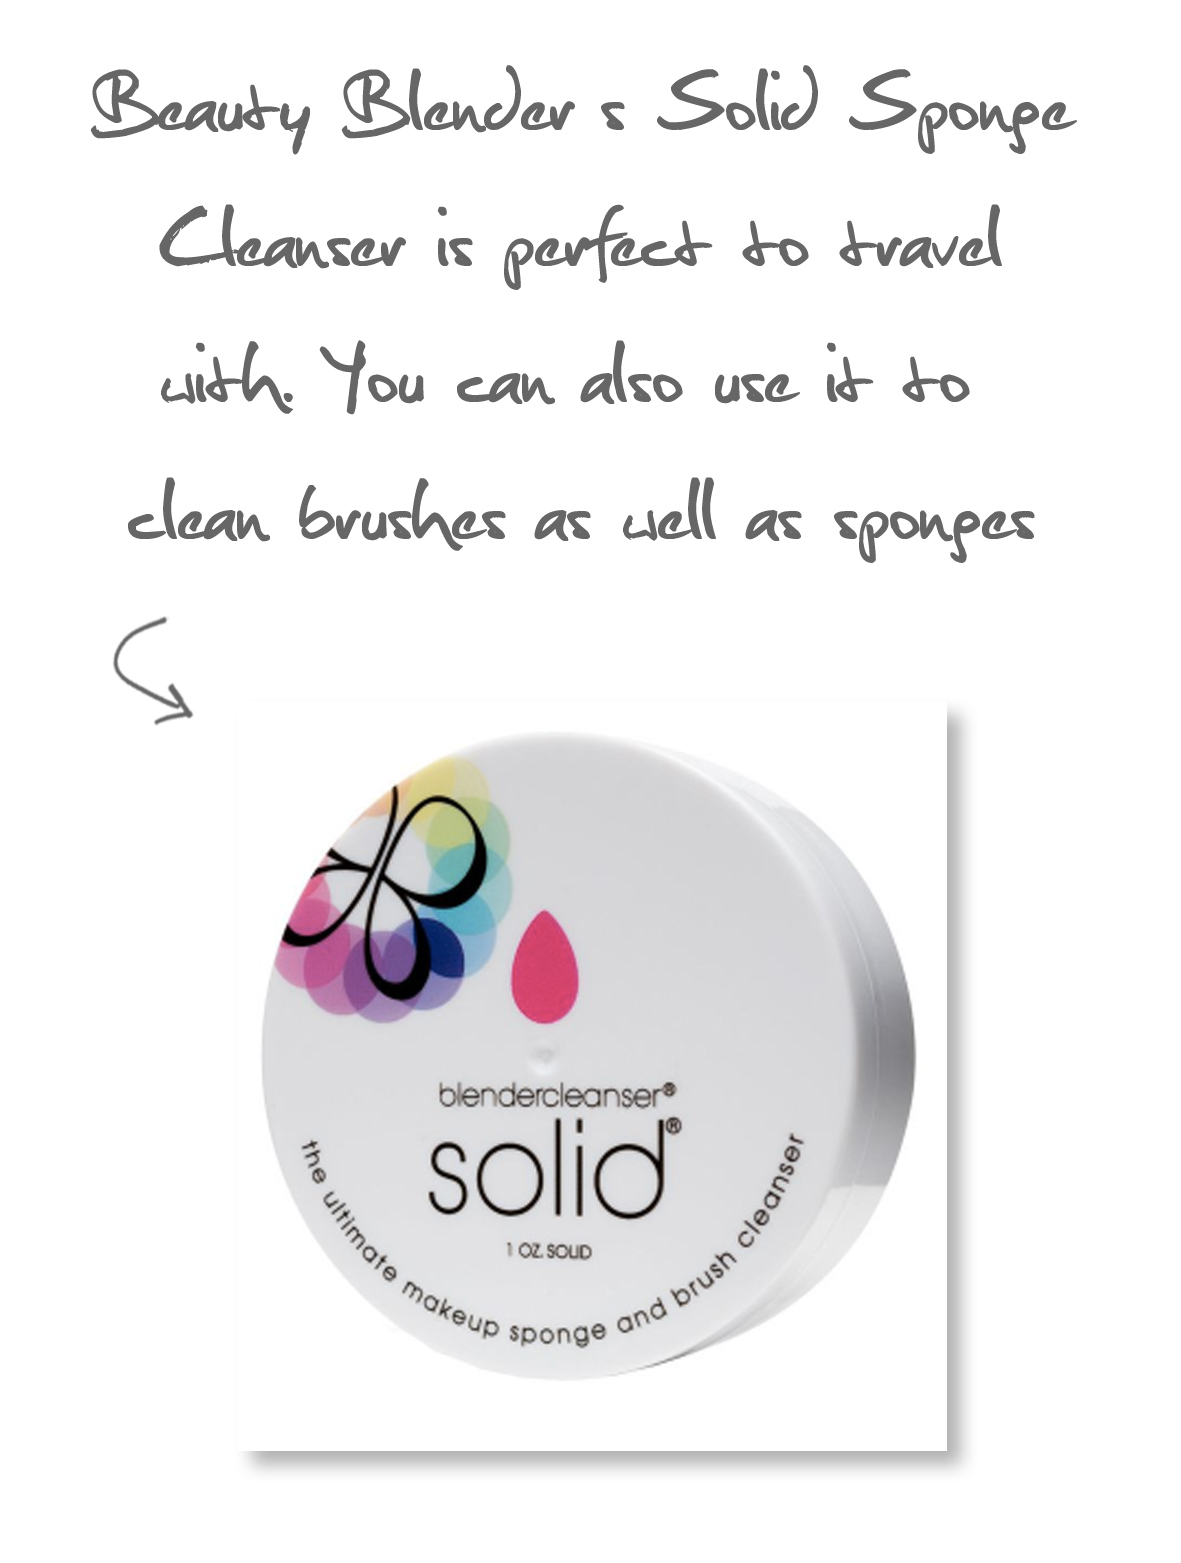
How do I clean a sponge properly?
Beauty Blender’s Solid Sponge Cleanser is specifically designed for cleaning your sponge applicators. Perfect to travel with, rub your sponge over the solid cleansing soap, lather and rinse until clean. You can also use the solid soap to clean brushes as well as sponges.
You can also use other brush shampoos to clean your sponges with as long as you can lather it up and rinse through.
Check out my post on how to clean your brushes here
The important thing with sponges, is that you leave them on the side to dry out fully before re-using to prevent damp and bacteria from developing. When you travel with your sponges, make sure to carry them in a bag with vents in so that they can breathe.
Watch my Flawless Complexion Tutorial to see how I apply Burberry Cashmere Foundation
© Wendy Rowe. All Rights Reserved.